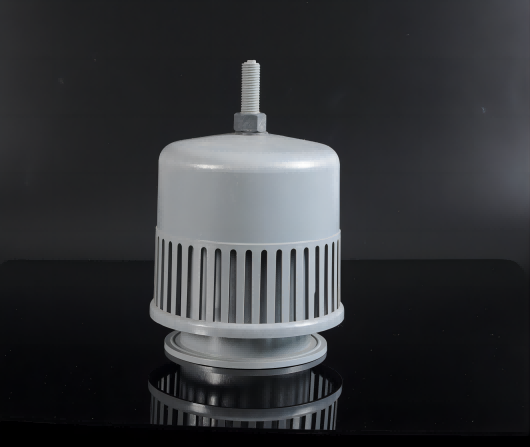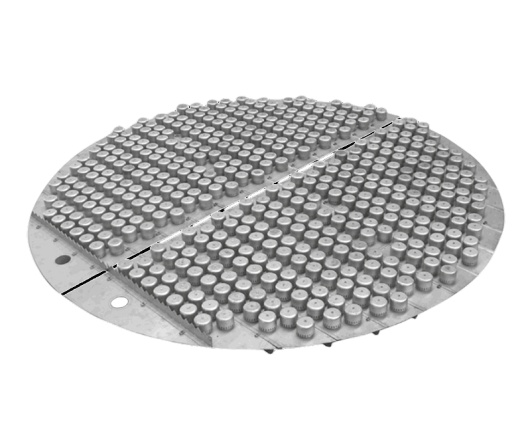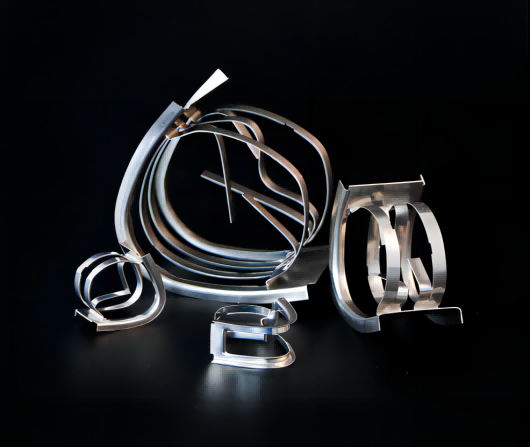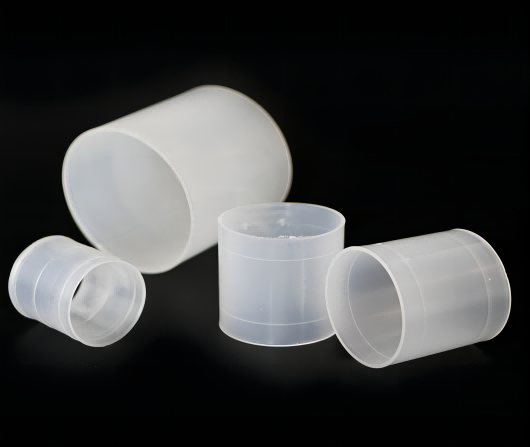

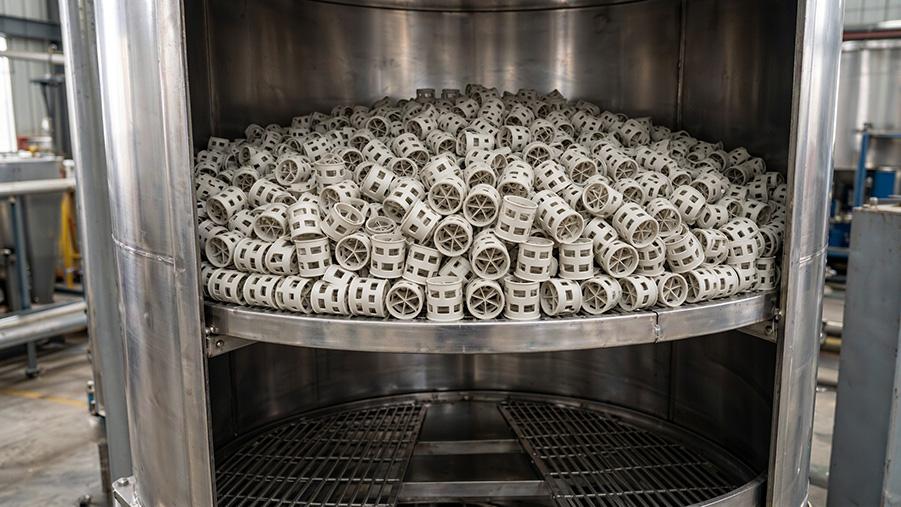
Figure 1: Controlled random packing loading with level bed surface — the core of any reliable tower packing installation guide.
This tower packing installation guide focuses on the field work that decides whether a random packed bed actually performs: preparing the column, controlling free fall height, setting the top screen or bed limiter, and running settling and commissioning checks. Material selection matters, but a perfectly specified packing can still fail if it is dumped, crushed, or left uneven during installation.
Engineer's Brief: Random packing is designed to form a self-randomizing bed. The installer's job is not to arrange it — it is to protect the void fraction, keep the bed level, and avoid impact damage. Most "packing problems" found six months later (high ΔP, channeling, local flood) are really installation problems made on day one.
A clean, level, verified shell is the foundation of the whole job. Skipping prep to save a shift almost always costs more later.
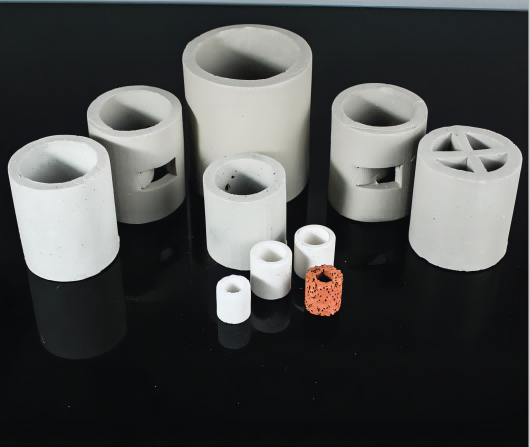
Free fall height is the single most abused variable in random packing jobs. Dropping packing from the manway looks fast — and it quietly breaks ceramic, dents thin metal, and nests plastic into low-void clumps.
| Method | Typical use | Drop height control | Key benefit |
|---|---|---|---|
| Dry loading (chute / bag / soft shoot) | Small–mid towers, all materials | Keep drop low; general field reference ≈ ≤1 m, tighter for ceramic/thin-wall metal | Simple, no water handling |
| Wet loading (water-filled column) | Ceramic, thin-wall metal, large towers | Pack settles through water; water level kept above bed | Less breakage, more uniform bed, better void fraction |
| Mechanical conveying | Very large beds, high volume | Controlled feed rate, distributed discharge | Consistent density, less manual labor |
Drop-height values are general field references, not universal code; confirm against packing material, wall thickness and project specification.
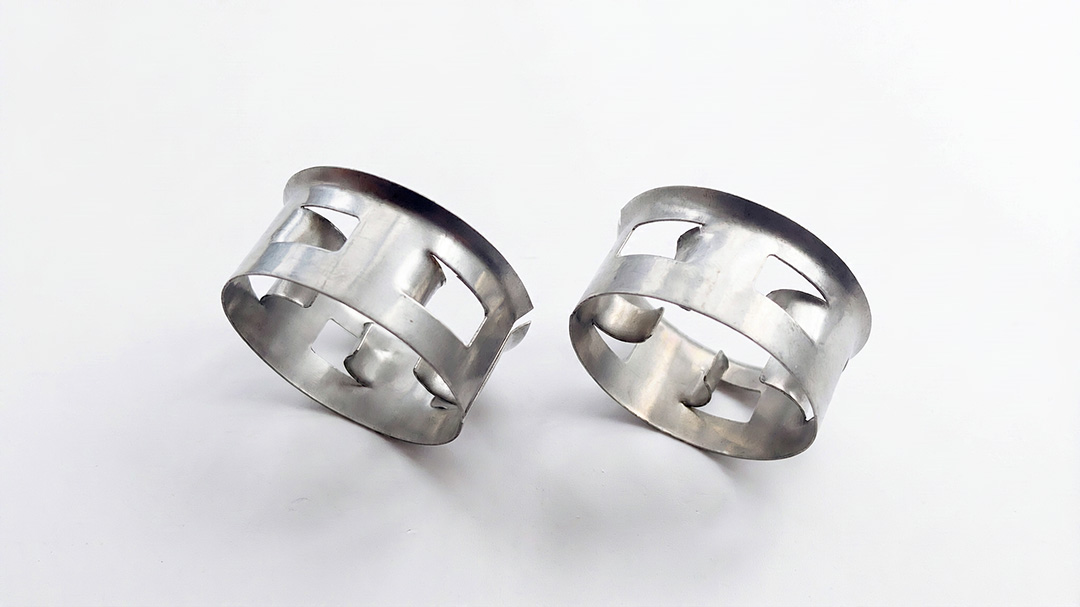
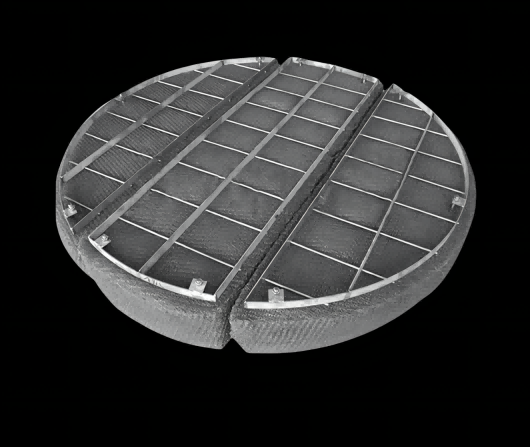
Figure 2: Top screen / bed limiter sitting just above the packed bed — restrains packing without compressing the void fraction.
Once the bed reaches design elevation, the top of the packing needs restraint — but not pressure.
Step 1 — Confined-space release: Lock-out/tag-out, purge, atmosphere test, permit signed. No exceptions.
Step 2 — Shell inspection: Clean, dry, no debris. Document support grid condition with photos.
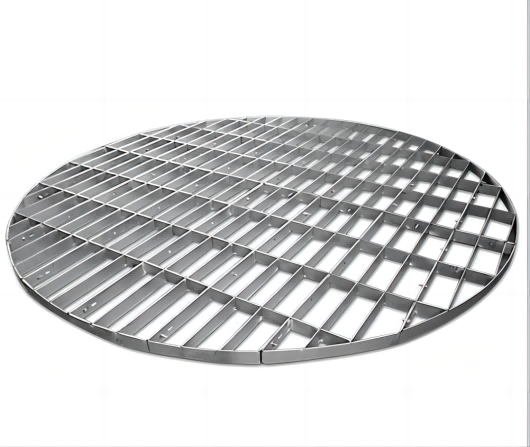
Step 3 — Verify support: Level grid, correct opening size, retention layer in place, secure fixation.
Step 4 — Mark elevations: Identify every bed interface and target height on the shell.
Step 5 — Control drop height: Use chutes/bags/wet loading; keep impact low and distribution even.
Step 6 — Load in lifts: Add packing in layers, level every 1–2 m, track weight vs. elevation.
Step 7 — Final leveling: Smooth the top surface; no high spots, no trenches to the wall.
Step 8 — Install top restraint: Place screen / bed limiter with correct clearance; secure fixings.
Step 9 — Reset internals: Distributor, redistributors, collector trays, manways.
Step 10 — Settling & commissioning tests: See below.
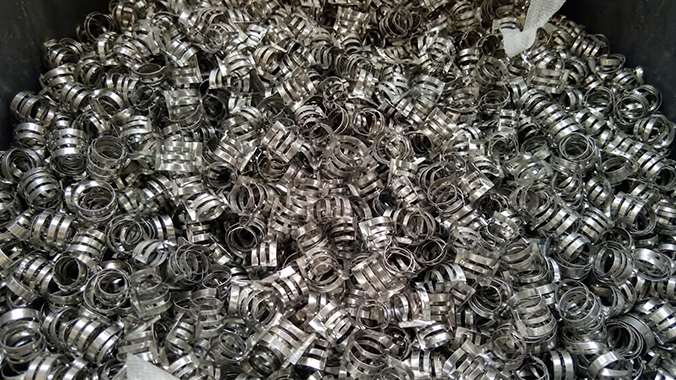
Installation is not finished when the manway closes. You need a baseline before the column sees real service.
Q1: Can I just dump random packing from the top manway?
A: Not if you want the bed to perform. High free-fall breaks ceramic, dents thin metal, and nests plastic. Use chutes, bags, or wet loading and keep the drop height controlled.
Q2: Do I need a top screen or is a bed limiter enough?
A: It depends on packing size and service. Small elements or surge-prone columns may need mesh; larger packing usually only needs a hold-down grid. The rule is: restrain movement without compressing the bed.
Q3: Why does bed leveling matter so much?
A: An uneven surface sends liquid to the low side and gas to the high side. The result is channeling and 30–50% efficiency loss even with perfect packing. Level every lift.
Q4: How do I know the installation actually worked?
A: Baseline ΔP at low load, even distribution in the air-water test, stable bed height after settling, and on-spec separation at ramp-up. No baseline = no proof.
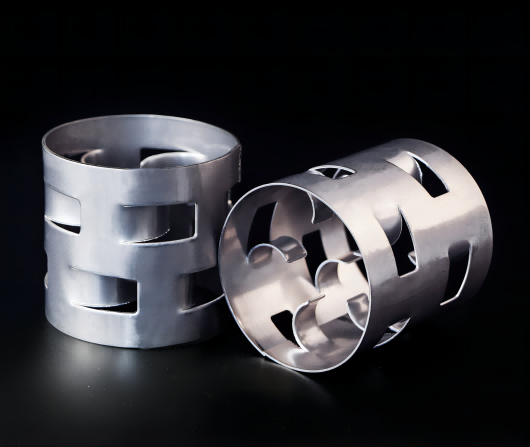
FXSINO supplies random packing (metal super Raschig, Pall rings, saddles), support grids, distributors and bed limiters dimensioned to your tower ID and service. Send tower data and we return a loading plan with drop-height, bed-height and restraint details.
Email: jackieqiu9202@gmail.com | +86 18507999558
 Adresse
: Intersection of Jinguang Avenue and Chongqing Middle Road, Anyuan Industrial Park, Anyuan District, Pingxiang City, Jiangxi
 Tél
: +86-18507999558
 E-mail
: sales@fxsino.com
 WhatsApp
:
+86-18507999558
 Réseau IPv6 pris en charge
Plan du site
| XML | Blog
| politique de confidentialité